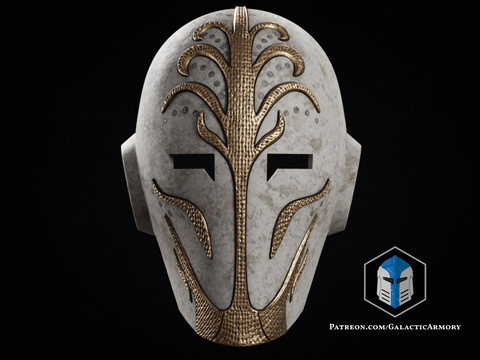
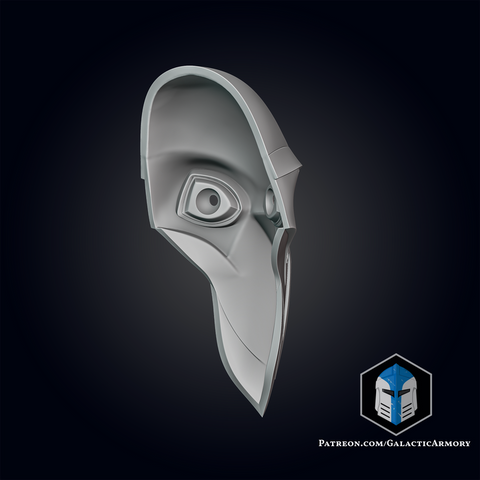
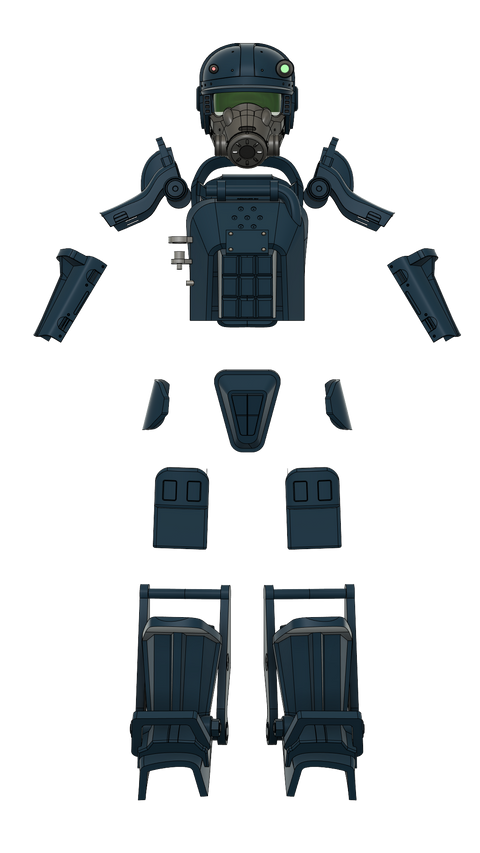
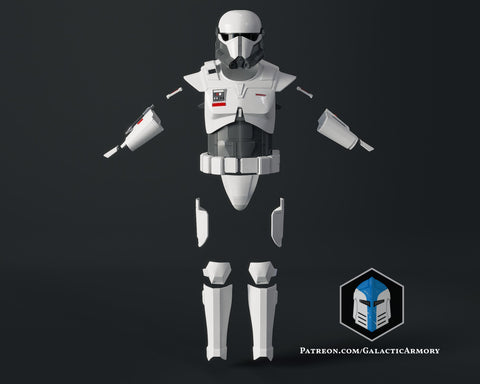
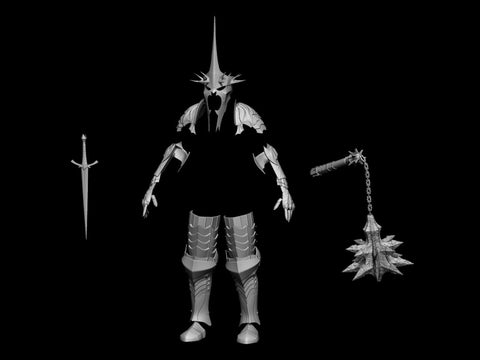
The diagrams are located on the product page. You can find your kit in the links below or you can use the search bar.
Smoothing 3D Printed Items
FDM 3D printing creates objects by building the object layer by layer. This process leaves artifacts on the surface of the item. Here are a few examples.
Layer Lines

Top Surface Lines and Artifacts

Supported Areas

Overhangs

There are many ways to hide these artifacts, some more involved than others. Over the years we have tried everything from vapor smoothing, to fillers like bondo. Of all the finishing methods we have tried we prefer resin coating.
If done properly resin coating can eliminate 90% of the sanding usually necessary to get a smooth injection mold like surface. In addition the resin will add significant strength to the item as well as increase its temperature resistance.
Resin coated PLA is stronger, and more temp resistant than ABS, ASA, or PETG!
With resin coating the layer height, and surface quality are not very important, as it takes the same amount of work to finish a rough print as it does a very nice one.
Preparation
Preparing the item for coating is a breeze. After the item is assembled and any adhesives are dry you only need to sand the high spots, and scuff up any smooth or shiny areas to promote adhesion. This can be done with a scotch pad or perhaps 400-600 grit paper. Don't worry about the print lines, or other minor defects the resin will hide most of it.
It is important to take your time when coating. The resin will self level to an extent but you will need to catch any runs or drips. Once the resin begins to cure leave it alone!
Once cured you can trim drips, bumps, and runs with a razor and then sand it flat. You may want to do a second coat or simply touch up some areas. Be sure to scuff up any areas you want to coat again!
NOTE: Thick resin will cover some of the details. To prevent this you can avoid highly detailed areas at first. Then thin the resin to coat the detailed areas. Please consult the manufacturer of the resin you choose for info on thinning it. You will also want to do some small tests before coating your entire item!
Epoxy Resin Coating (Our Recommendation!)
Epoxy comes in two parts; the resin, and a hardener. The resin is cured by a chemical process, achieved by mixing the two components.
Some benefits include:
- The ability to adjust working time.
- The ability to adjust viscosity.
- No UV curing or washing necessary.
- Epoxy is much more cost effective than UV resin.
- The cured coating is not brittle.
- Excellent adhesion.
There are many types of 2 part epoxy resins and most will get the job done. We have used table top resin, fiberglass resin, casting resin, UV resin and even cheap ebay resin. Check the manufacturers recommendations for the type and brand you use.
Of all the types and brands we have tried we prefer XTC-3D as it is formulated specifically for this process and thus its properties are ideal. We have used if for many years and can verify claims by its maker Smooth-On. More info on the use of XTC-3D can be found here.
You can thin XTC-3D with isopropyl alcohol for coating detailed areas.
The following video demonstrates how to apply the resin.
UV Resin Coating
UV resin is a one part resin which is cured by exposure to UV light. Although this is not our preferred method, some find this easier to use than epoxy and so we have included this video for your reference.
The main advantage to UV resin is that you do not need to mix it. Simply apply it to the part and cure it.
There are a few drawbacks as well.
- Items produced with UV resin (sla printed), or those coated with it tend to be brittle.
- It is more difficult to adjust the viscosity.
- UV resin is significantly more expensive so if you are coating a large item or many items it will get costly.
- UV resin is not suited to large items or thick applications.
- You will need a UV light if the sun is not shining.
Multiple Coats
With any resin you need to take care when applying a second coat.
- With epoxy it is best to apply a second coat when the undercoat is still slightly tacky.
- With UV resin you will want to apply thin layers and fully cure each before repeating.
After the undercoat is fully cured you will need to scuff up the surface to allow the second coat to properly adhere.
After Coating
Once the resin is cured you can sand out any imperfections. This is where taking your time while coating will pay off! In addition to removing imperfections, you will need to scuff up the entire item before primer and paint. At this point finishing is similar to any other item.
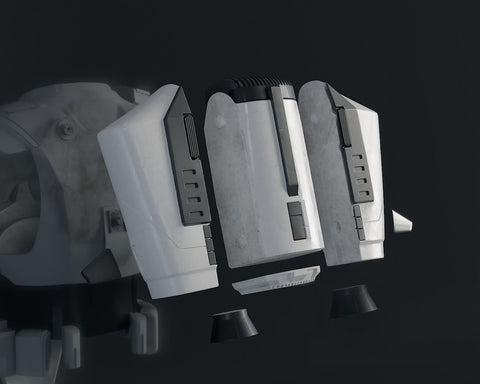
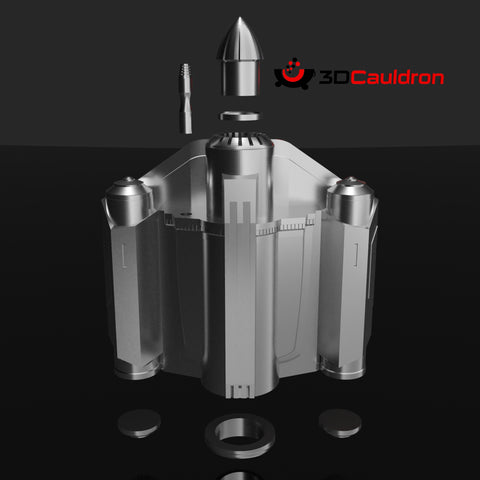
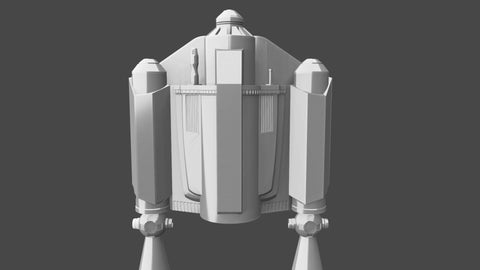
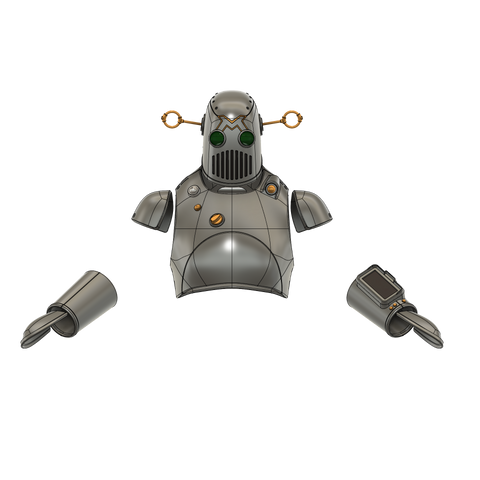
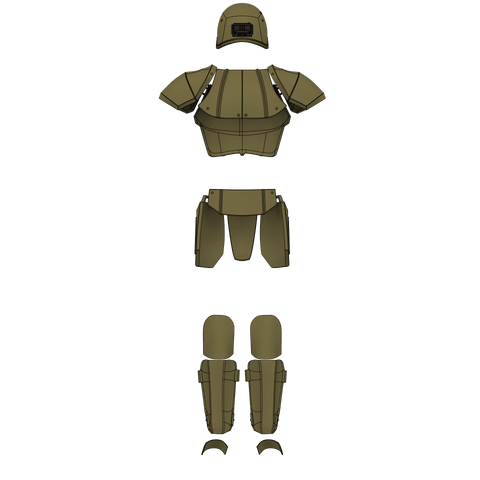
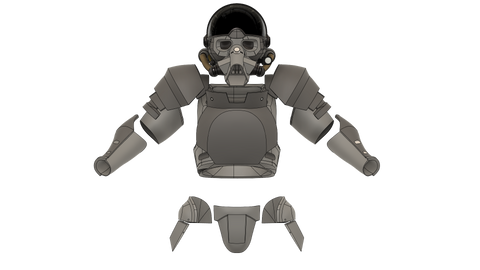
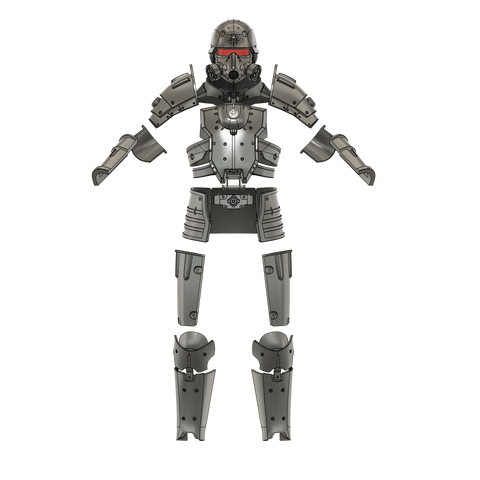
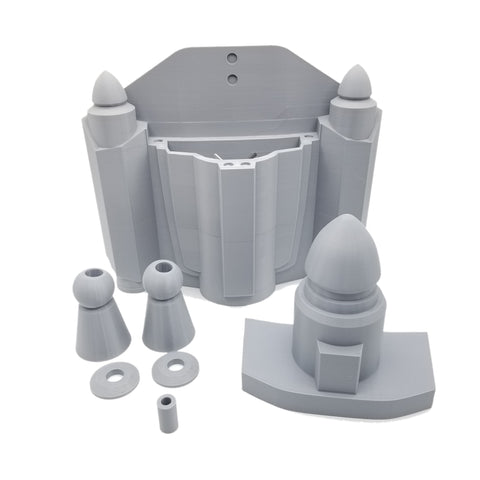
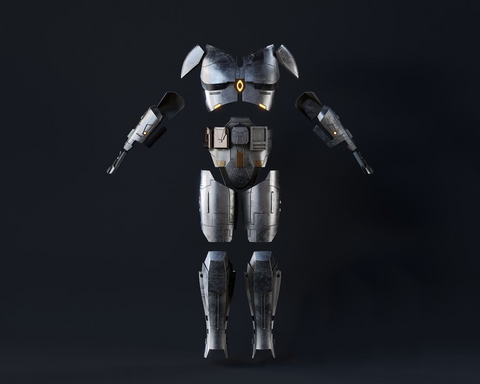
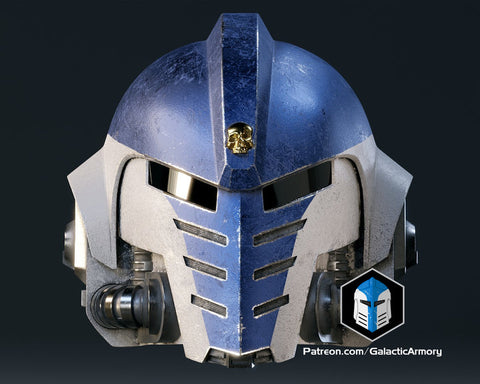
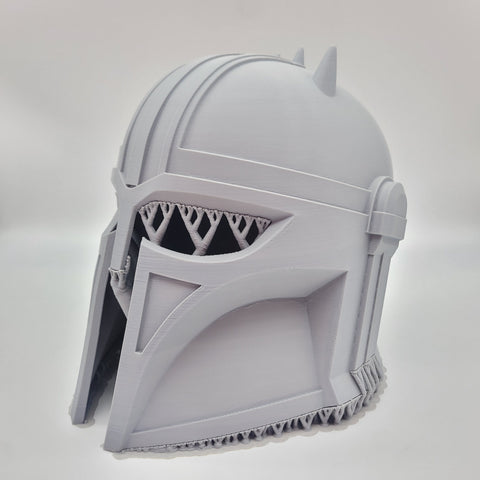
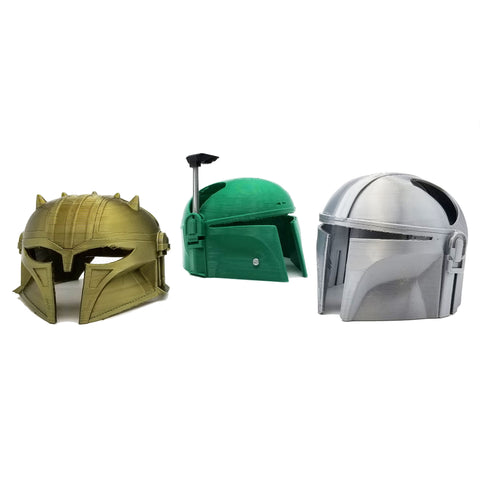
Kit Diagrams
-
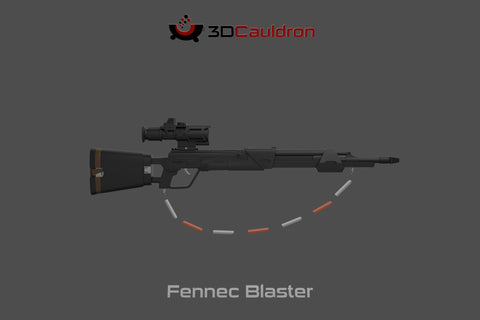
3D Cauldron
-
Appalachin Forgery - app_forgery
-
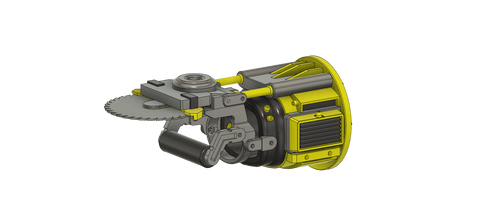
Fallout Industrial Hand
-
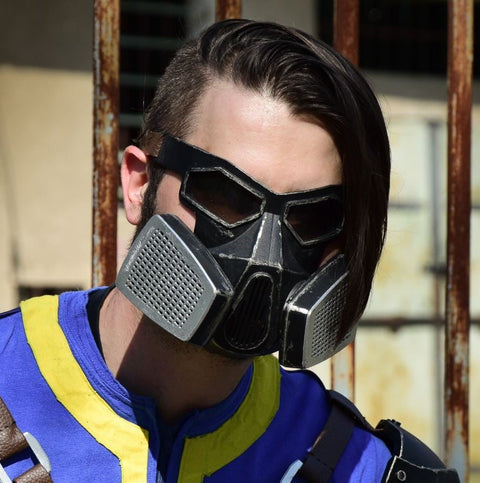
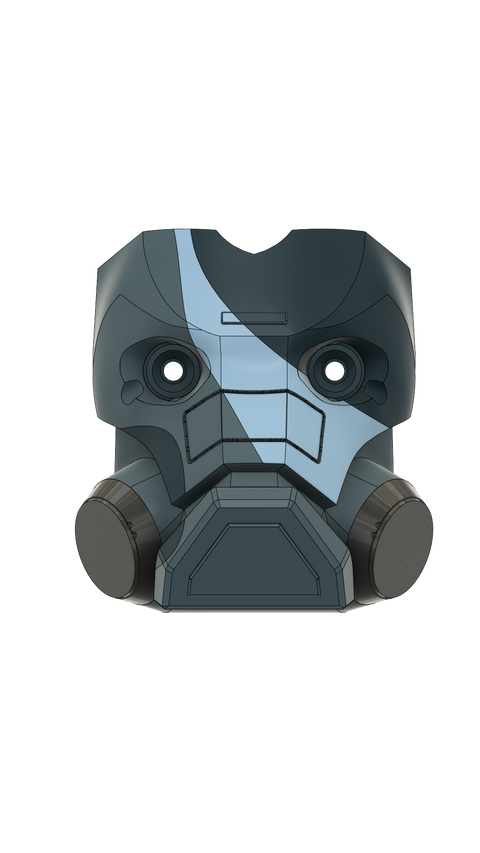
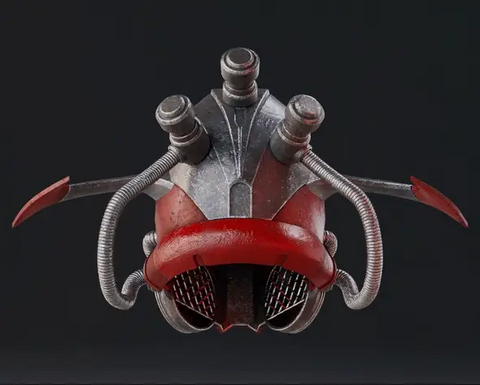
Fallout Reclaimed Deep Mining Gas Mask

-
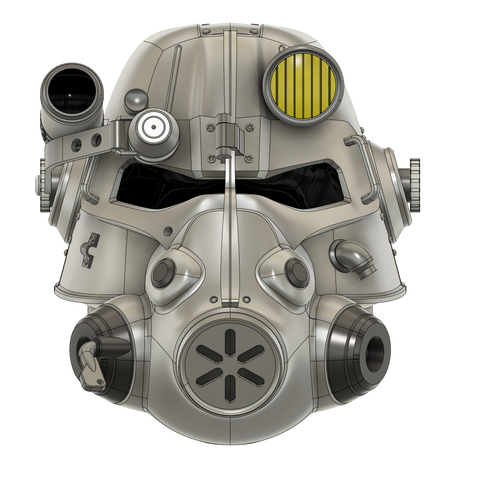
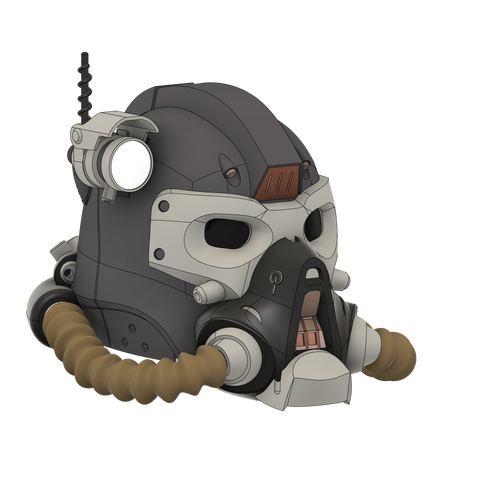
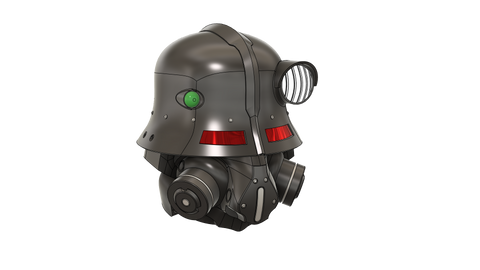
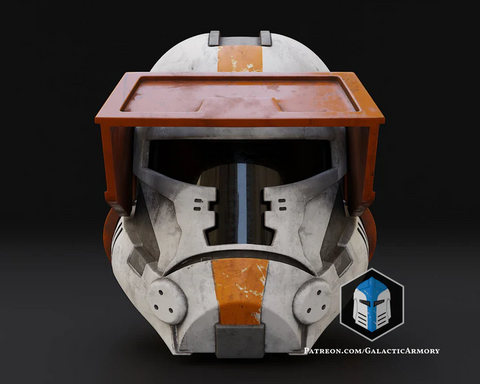
Fallout T-45 Power Armor Helmet
-
Fallout Anomaly Astronaut Helmet
-
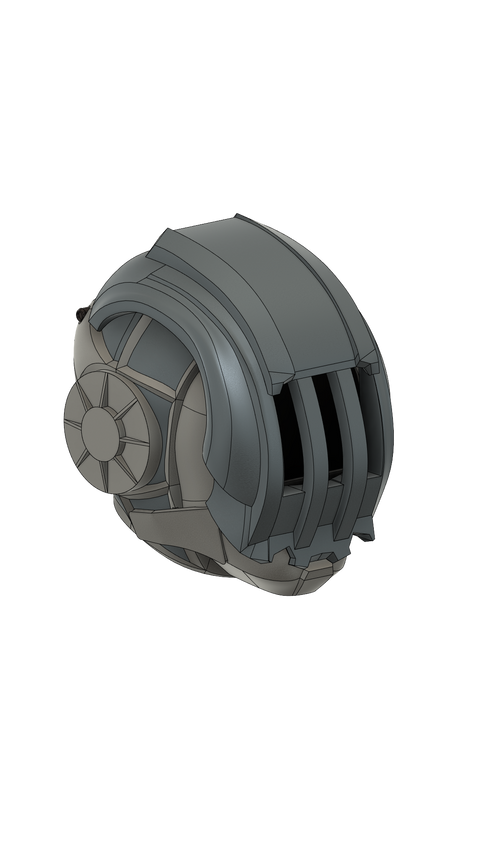
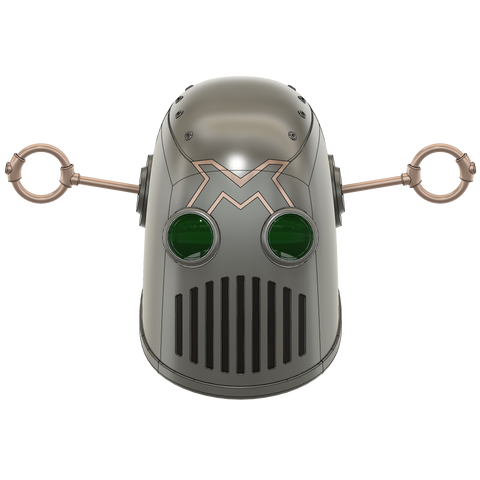
Fallout Sentry Bot Helmet
-
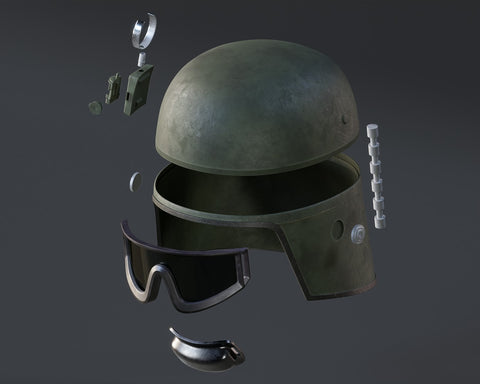
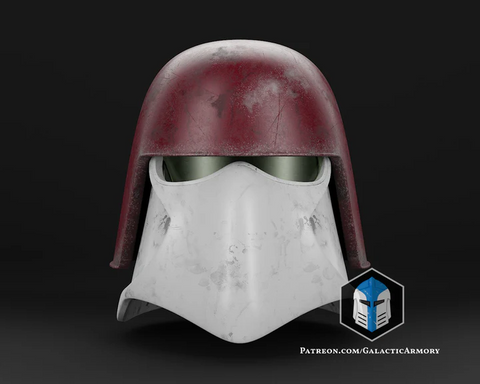
Fallout Secret Service Helmet

-
Fallout Mechanist Armor
-
Fallout Combat Armor | New Vegas
-
Fallout Secret Service Armor
-
Fallout BOS Recon Armor
-
Fallout Marine Armor
-
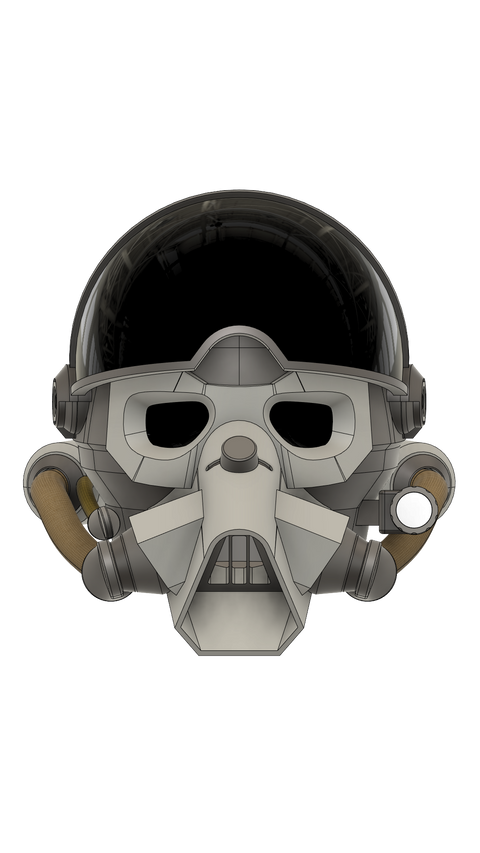
Fallout Brotherhood Recon Helmet
-
Fallout Combat Armor Helmet
-
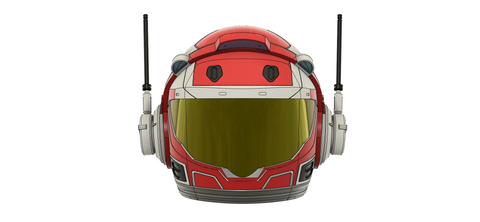
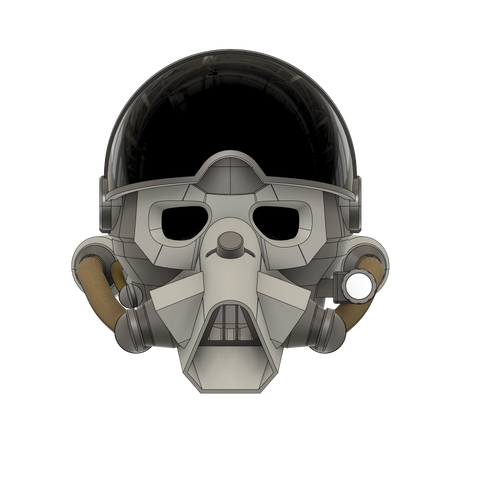
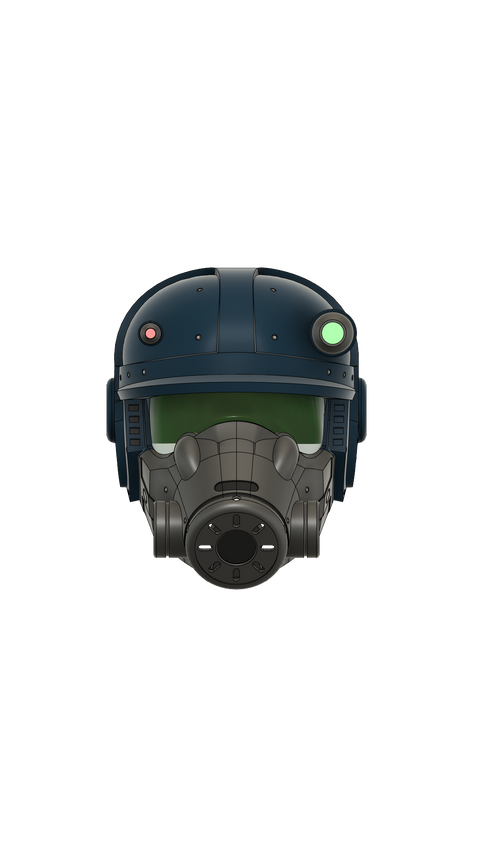
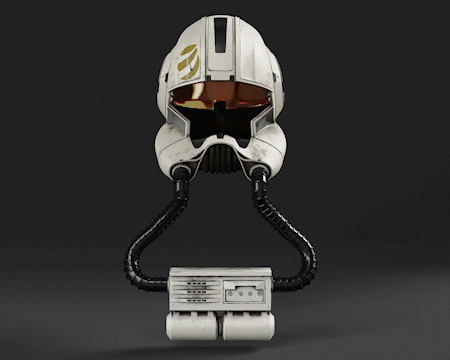
Fallout Flight Helmet
-
Fallout Mechanist Helmet
-
Fallout Operable Secret Service Helmet
-
Fallout T-65 Power Armor Helmet
-
Fallout Zap Glove
-
Fallout Brotherhood of Steel Helmet
-
Fallout Enclave Scout Mask
-
Fallout Marine Armor Helmet
-
Fallout Secret Service Helmet
-
Fallout Responders Power Armor Helmet
-
Fallout Assault Gas Mask

-
-
Armor Sets
-
Pipboy 3000

-
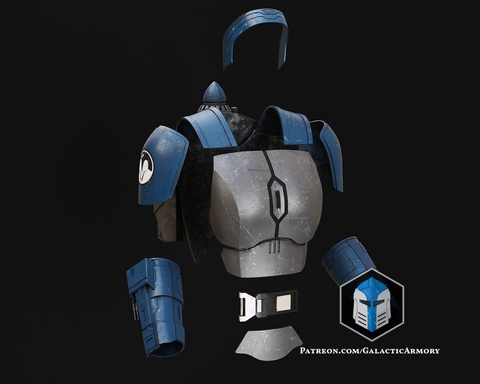
Paz Clean Armor

-
Fallout 76 Pipboy

-
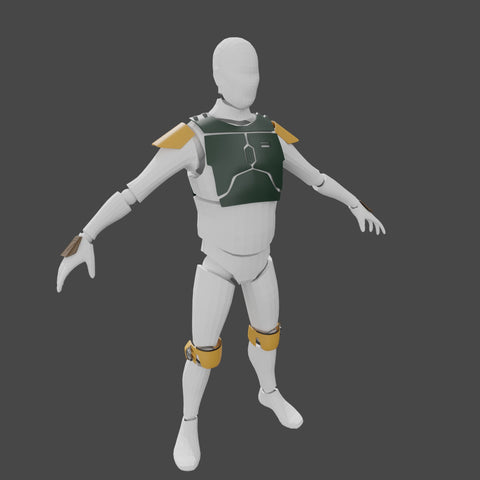
Boba Vambraces
-
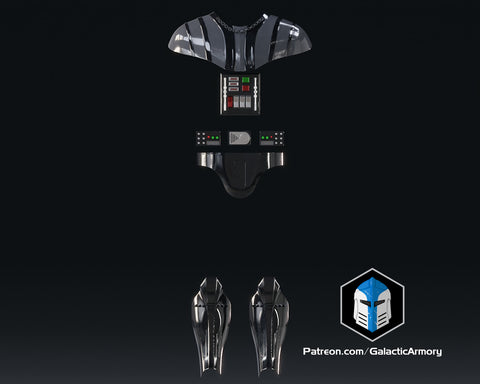
Darth Armor & Helmet
-
Fallout T-45 Power Armor Helmet
-
BOBF Armor
-
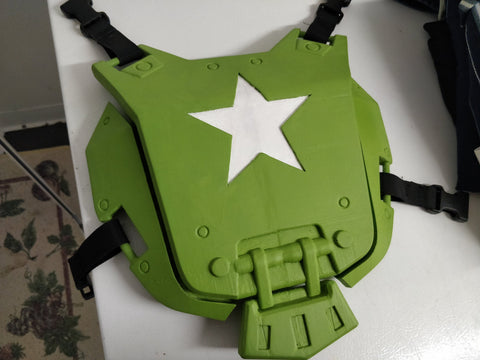
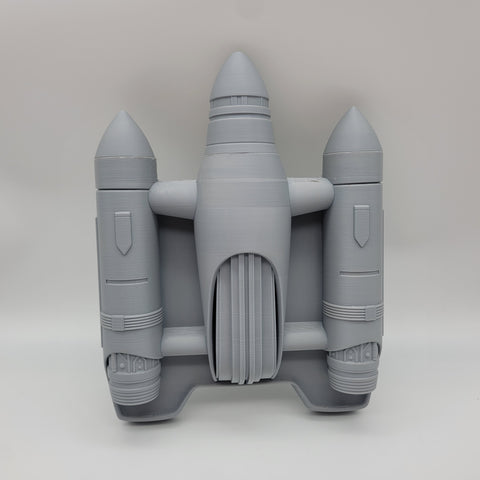
Ezra Bridger Jetpack & Backplate
-
Combat Armor
-
Fallout Mechanist Armor
-
Fallout Combat Armor | New Vegas
-
Fallout Secret Service Armor
-
Fallout BOS Recon Armor
-
Fallout Marine Armor
-
Fallout Responders Power Armor Helmet
-
Fallout Marine Armor Helmet
-
Fallout Zap Glove
-
Fallout T-65 Power Armor Helmet
-
Fallout Combat Armor Helmet
-
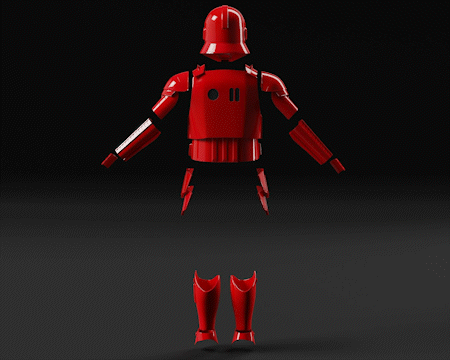
Praetorian Guard Armor
-
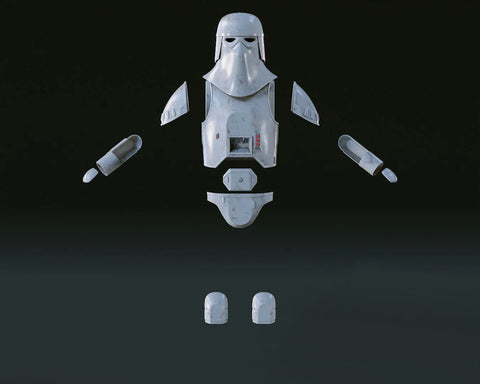
Snow Trooper Helmet and Armor
-
Din Djarin Beskar Armor

-
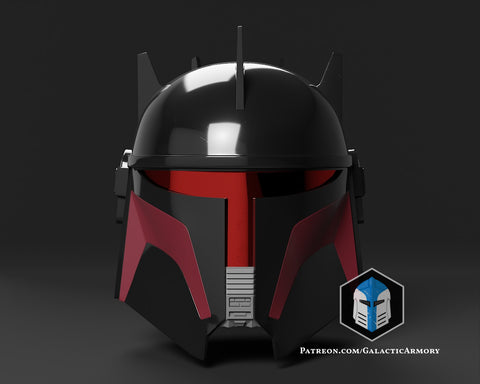
Imperial Mandalorian Commando Armor
-
Baylan Skoll Armor
-
Tie Fighter Helmet and Armor
-
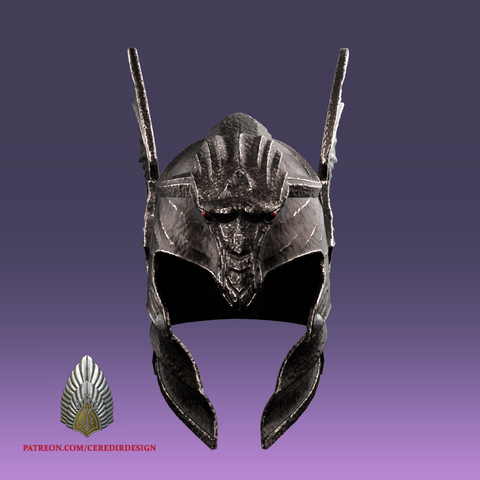
Witch King Helmet & Armor
-
Old Republic Jedi Armor
-
Black Krrsantan Armor
-
Galactic Armorer Helmet
-
Armorer Helmet
-
Cat Hats
-
BOBF Gauntlets
-
Sabine Wren Backplate

-
The Armorer Kit
-
Cad Bane Gauntlets
-
Bo-Katan Armor
-
The Armorer Jetpack
-
-
Best Selling Products
-
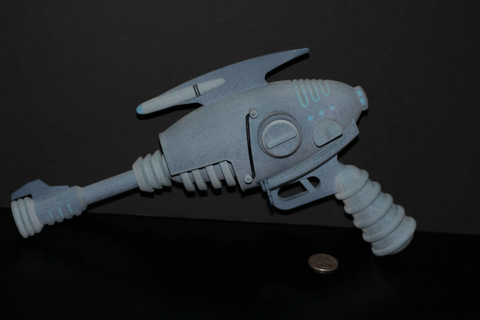
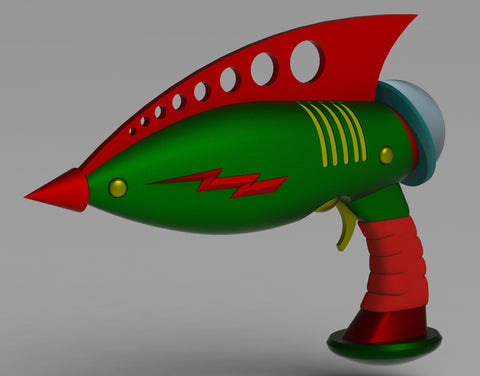
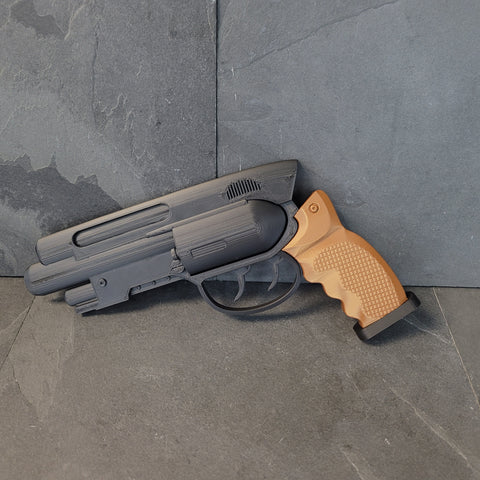
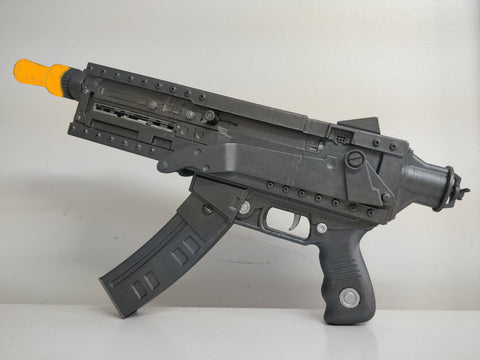
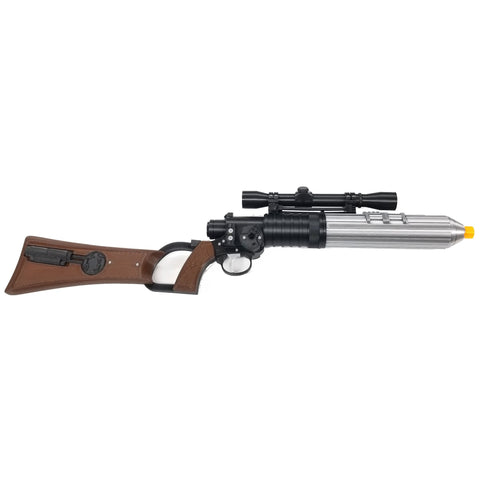
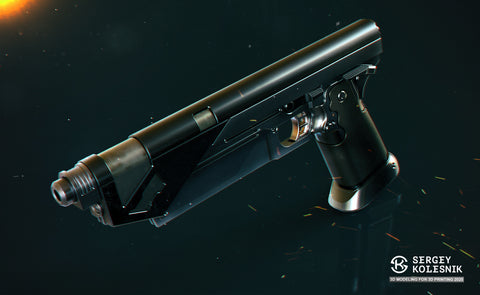
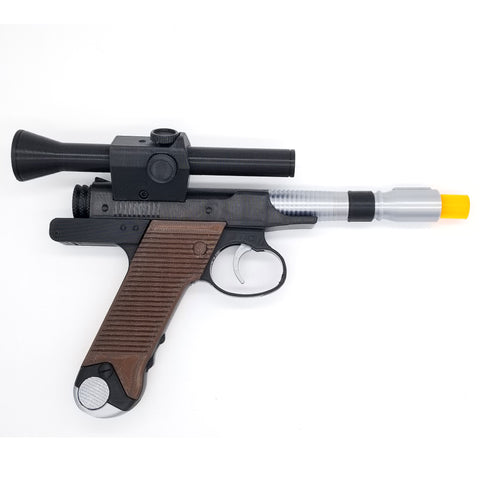
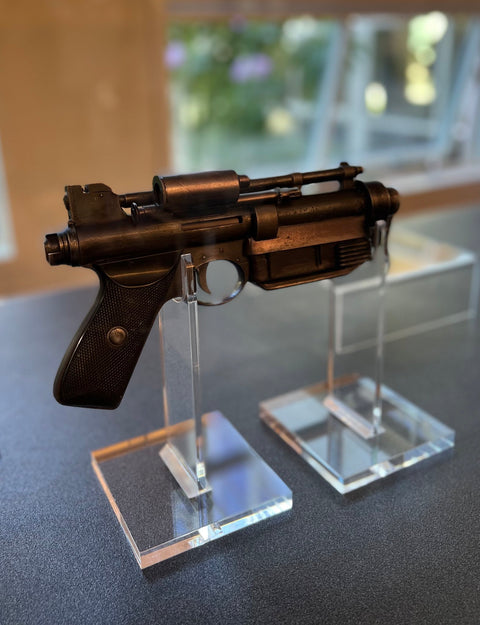
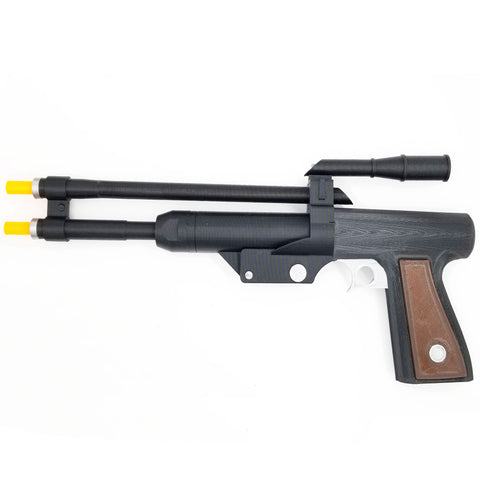
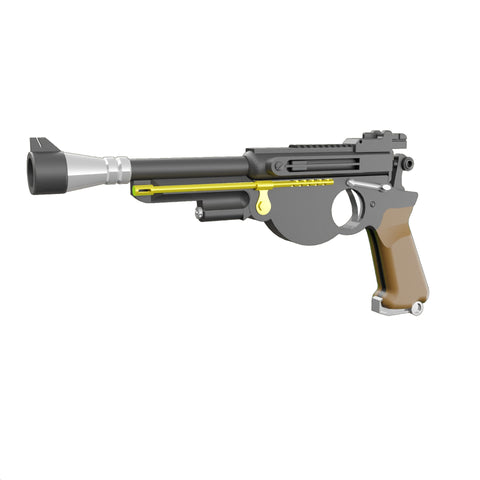
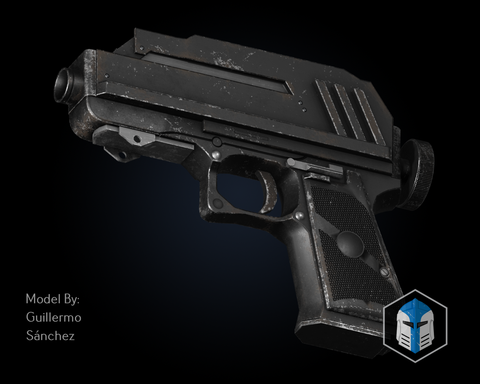
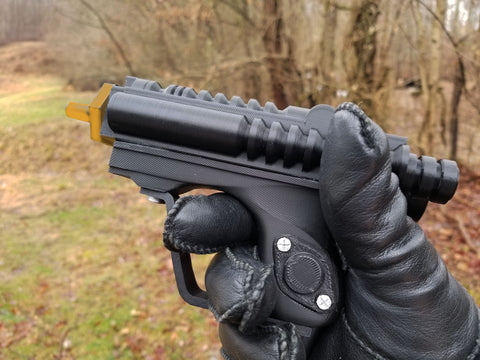
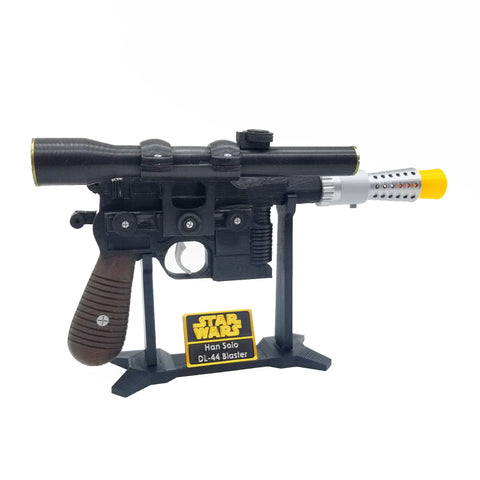
Blaster Kits
-
Ceredir Cosplay
-
Figurines
-
Galactic Armory
-
Helmets
-
Fallout Secret Service Helmet
-
Fallout Sentry Bot Helmet
-
Fallout Responders Power Armor Helmet
-
Fallout Secret Service Helmet
-
Fallout Anomaly Astronaut Helmet
-
Fallout Marine Armor Helmet
-
Fallout Brotherhood of Steel Helmet
-
Fallout T-65 Power Armor Helmet
-
Fallout T-45 Power Armor Helmet
-
Fallout Operable Secret Service Helmet
-
Fallout Mechanist Helmet
-
Fallout Flight Helmet
-
Fallout Combat Armor Helmet
-
Fallout Brotherhood Recon Helmet
-
Numenorean Soldiers Helm
-
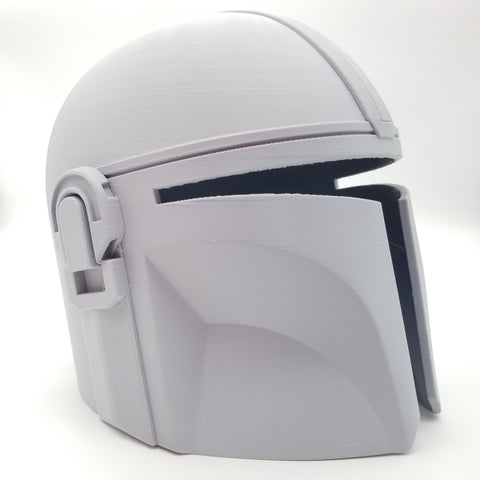
The Mandalorian Beskar Helmet
-
Ragnar Foundling Helmet

-
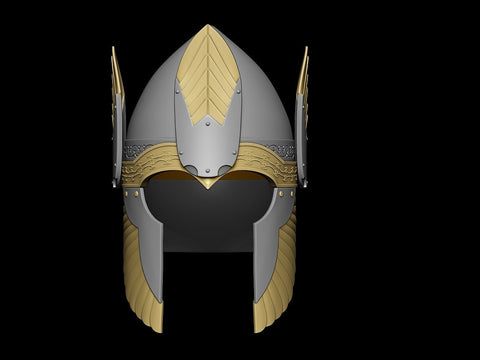
Gimli Helmet
-
Miriel Queen Regent Helmet
-
Snow Trooper Helmet and Armor
-
McVader Helmet
-
Mouth of Sauron Helmet
-
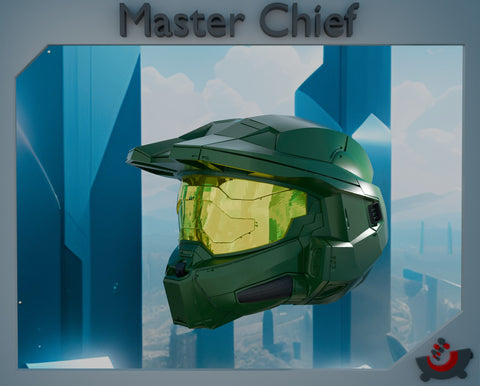
Master Chief Helmet
-
Uruk Hai Helmet
-
Eowyn Helmet
-
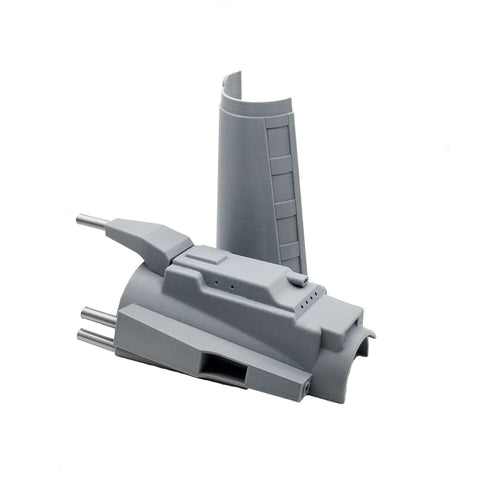
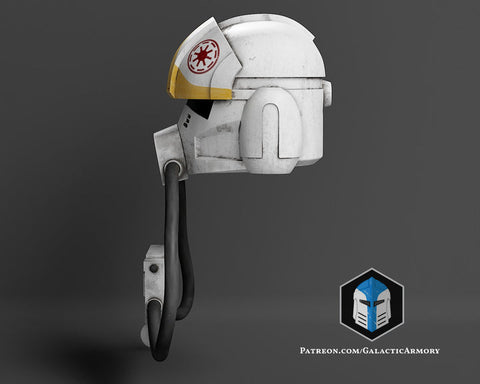
ARC 170 Pilot Helmet
-
Tie Fighter Helmet and Armor
-
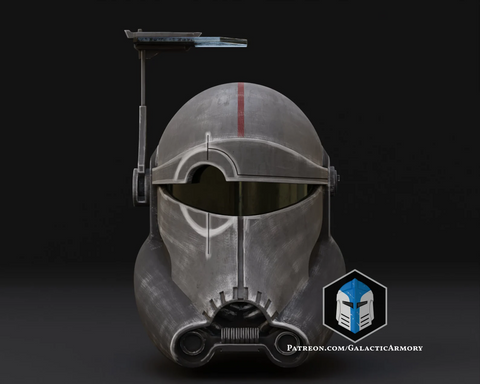
Animated Pilot Helmet
-
Witch King Helmet & Armor
-
Paz Clean Heavy Infantry Mando Damaged
-
Thorin Crown
-
Crosshair Helmet
-
Daemon Targaryan Helmet
-
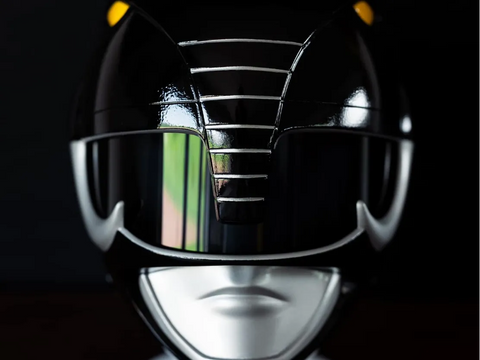
Black Power Ranger Helmet
-
Wolf Mando Helmet
-
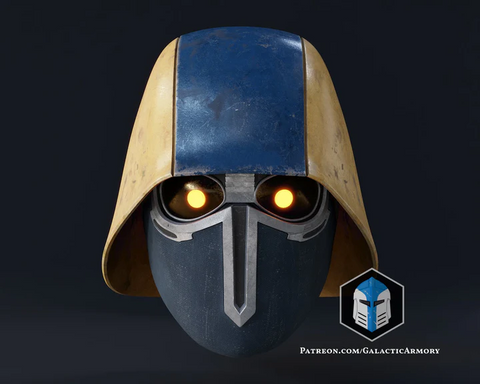
Moff Gideon Helmet
-
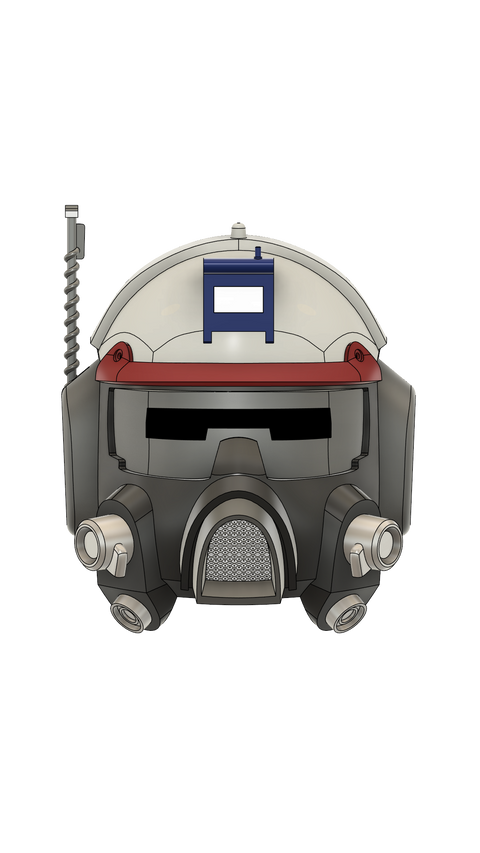
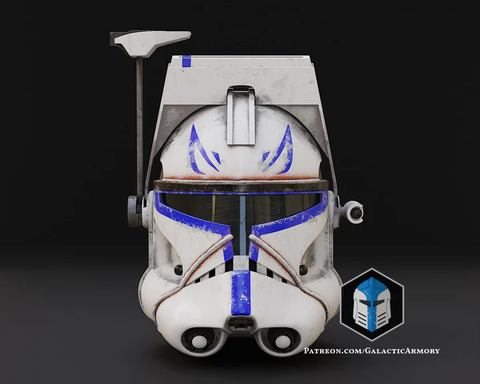
Captain Rex Helmet
-
Clone Assassin Helmet
-
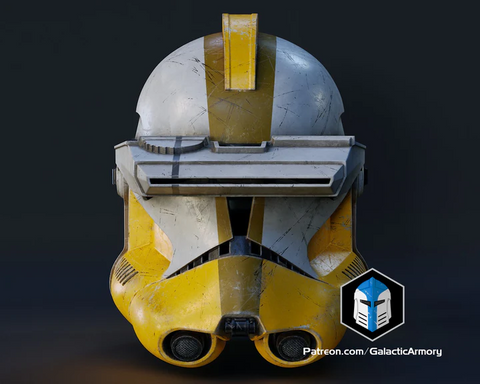
Commander Bly Helmet
-
Coruscant Security Force Helmet
-
Acolyte Stranger Helmet
-
Airborne Trooper Helmet
-
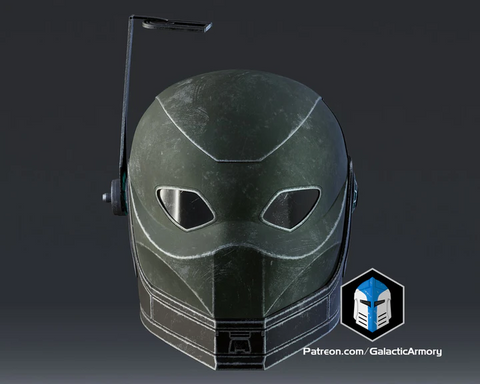
Spec Ops Trooper Helmet
-
AT-AT Driver Helmet
-
AT-ST Driver Helmet
-
Galactic Marine Helmet
-
Havok Trooper Helmet
-
Marchion Ro Helmet
-
Purge Trooper Helmet
-
-
Jet Packs
-
Masks
-
Newest Products
-
Other Props
-
PPG Accessories
-
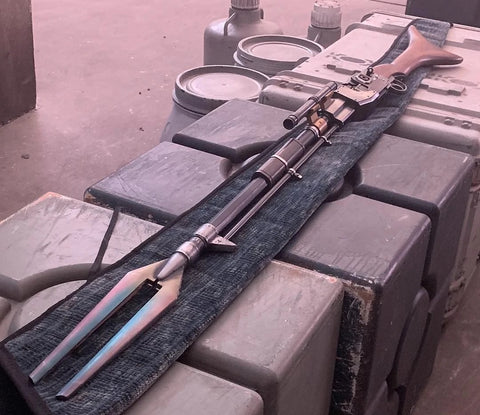
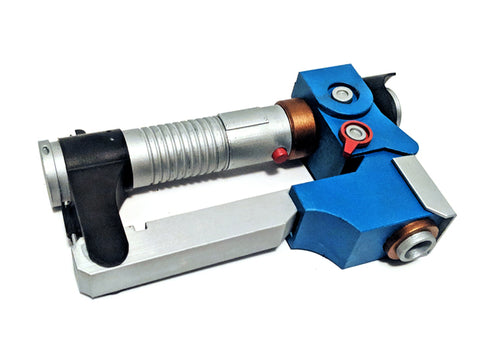
Saber Kits
-
Seasonal & Holiday